Have you become weary of attempting to transfer your MBOX mailbox to PST using laborious and complicated procedures? Don’t look elsewhere! We’re here to make the transition simple for you with our clear-cut instructions. We have you covered, whether you’re a sophisticated professional or a novice. You’ve never had it so simple to convert your MBOX mailbox to PST. You may make the shift effortlessly if you follow our detailed instructions and helpful hints. Give up the stress of manual conversions and welcome to a simplified, effective procedure. In addition to saving you time, our advisor will make sure that all of your important data is securely moved to your new mailbox. Why then wait? Explore our tutorial to learn how simple it is to transfer your MBOX mailbox to PST.
Why would you need to migrate the MBOX mailbox to PST?
Different email clients employ two popular email file formats: MBOX and PST. While clients like Thunderbird, Apple Mail, and Eudora frequently utilize MBOX, Microsoft Outlook only supports PST as its own proprietary file type.
There are several reasons why you might need to migrate your MBOX mailbox to PST:
- Changing Email Clients: To access your emails, contacts, and other data easily while switching from an MBOX-compatible email client to Microsoft Outlook, you must convert your MBOX files to PST.
- Data Consolidation: Occasionally, you could have several MBOX files dispersed across several email clients. You may combine all of your emails and other data into one location for simple administration and access by moving them to PST.
- Compatibility Problems: PST files could be necessary for compatibility with specific third-party programs or services. You may make sure that your data is compatible with a larger range of programs and services by converting your MBOX files to PST.
Preparing for the migration process
To guarantee a seamless transfer, it’s crucial to set up your MBOX mailbox and PST file before beginning the migrating procedure.
Here are some actions you ought to take:
- Create a backup of your MBOX mailbox: A backup of your MBOX mailbox is essential before beginning any conversion or migration procedure. In the event that anything goes wrong during the migration process, this will serve as a safety net.
- Make a New PST File: If you haven’t already done so, make a new PST file right away. Your transferred data will go into this file as its final destination. Make sure to pick a name and a place that are simple to recall.
- Clean up Your Mailbox: It’s a good idea to organize your folders, delete any pointless emails, and remove any unneeded attachments from your mailbox before transferring your MBOX mailbox. This will ensure a more effective transfer of data and assist speed the migration process.
Manual methods for migrating MBOX mailbox to PST
Your MBOX mailbox may be converted to PST using a number of manual techniques. These techniques can be time-consuming and difficult, even if they may be effective for certain people. Here are two typical manual techniques:
- Import and Export approach: In this approach, your MBOX mailbox data is exported to a Microsoft Outlook-compatible format, such as CSV or EML. After being exported, the data may be imported into Outlook and saved in the PST format. Even while this approach is cost-free, it might be time-consuming, especially if your inbox is big and contains many folders.
- Drag and Drop Method: The MBOX files can also be manually moved into a new folder in Microsoft Outlook by simply dragging and dropping them. The MBOX files will be immediately converted to PST format by Outlook. Even though this procedure is rather simple, it might take a while if you have a lot of MBOX files or a big mailbox.
Automated Software for Migrating MBOX Mailbox to PST
Consider using automated programs like transferring MBOX Mailbox to PST if you’re seeking a quicker and easier way to transfer your MBOX mailbox to PST. These tools have been created especially to make the transfer process easier and guarantee a smooth transition.
Here are a few explanations for why you would want to use an automated tool:
- Time-Saving: When compared to manual techniques, automated technologies can greatly minimize the amount of time needed for migration. They enable you to move your data fast and effectively since they can manage big mailboxes with lots of folders and files.
- Accuracy and Data Integrity: Automated technologies guarantee correct data migration and prevent data loss or corruption. They make sure that your transferred data is similar to the original MBOX mailbox by maintaining the folder structure, email attachments and other information.
- User-Friendly Interface: The majority of automated programs include an intuitive user interface that makes migrating simple for even non-technical users. You don’t need to grasp complicated instructions for hours on end or possess technical knowledge. You may easily transfer your MBOX mailbox to PST with only a few clicks.
A step-by-step guide to using an automated tool for migration
Now that you understand the benefits of using an automated tool, let’s dive into a step-by-step guide on how to migrate your MBOX mailbox to PST using Migrate MBOX Mailbox to Outlook:
- Step 1: Download and Install the Software
Visit the Mailvita website and download the MBOX to Outlook file Converter software. Once downloaded, run the installer and follow the on-screen instructions to install the software on your computer.
- Step 2: Launch the Software
After installing the software, launch it on your computer. You’ll be greeted with a user-friendly interface that displays various options and features.
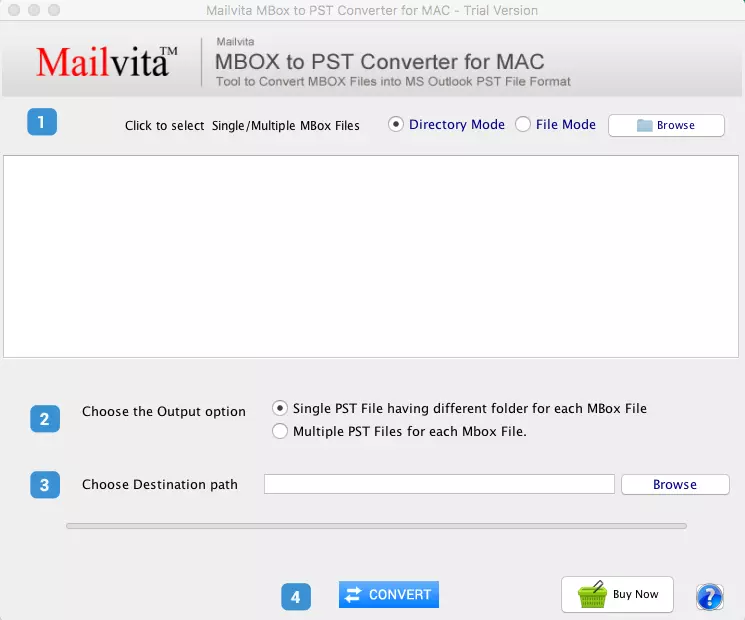
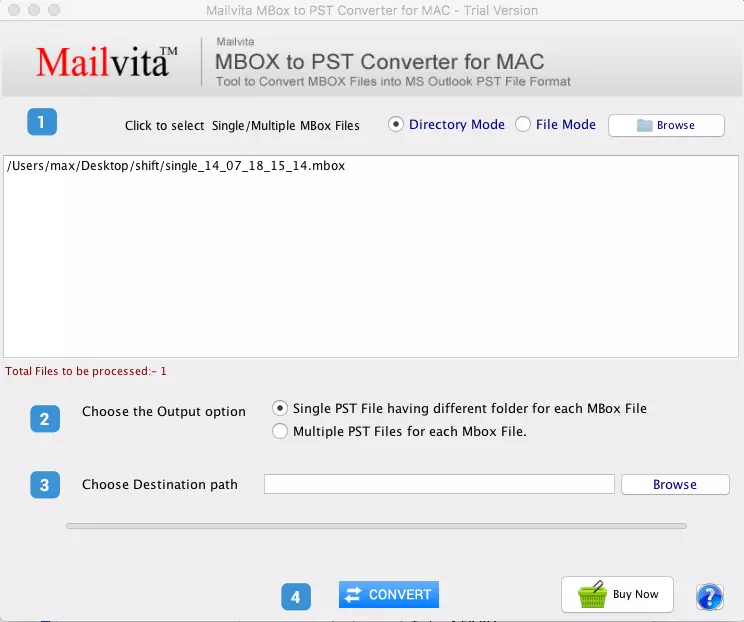
- Step 3: Add MBOX Files
Click on the “Directory Mode” or “File Mode” button to add the MBOX files you want to migrate. You can select multiple files or an entire folder containing MBOX files.
- Step 4: Preview and Select Data
Once you’ve added the MBOX files, the software will display a preview of the mailbox contents. You can browse through the emails, folders, and attachments to ensure that you’ve selected the correct data for migration.
- Step 5: Choose PST as the Output Format
Select “PST” as the output format from the available options. You can also choose additional settings, and click on the single and multiple PST files.
- Step 6: Choose the destination folder
Choose the destination folder where you want to save the converted EML file and click on the Browse button.
- Step 7: Start the Migration Process
Click on the “Convert” button to initiate the migration process. The software will automatically convert the MBOX files to PST format and save them to the specified location.

- Step 8: Verify the Migration
Once the migration process is complete, you can open Microsoft Outlook and verify that all your emails, contacts, and other data have been successfully migrated to the new PST file.
Final Thoughts
It doesn’t have to be challenging to convert your MBOX mailbox to PST. You can easily make the transfer and ensure a flawless transition of your data with the correct tools and direction. The key is to be ready, convert your data, and adhere to the detailed instructions offered whether you prefer to use manual techniques or automatic solutions like MBOX to PST Converter for Mac.
You may access a larger variety of apps and services as well as safeguard the security and integrity of your important data by converting your MBOX mailbox to PST. So don’t allow the migration process’s complexity to prevent you from moving forward. Make the move with assurance and take charge of your mailbox